Set up a class, build and publish assignments in any of five activities, correct them after they are out, read the results, and close the class when it ends.
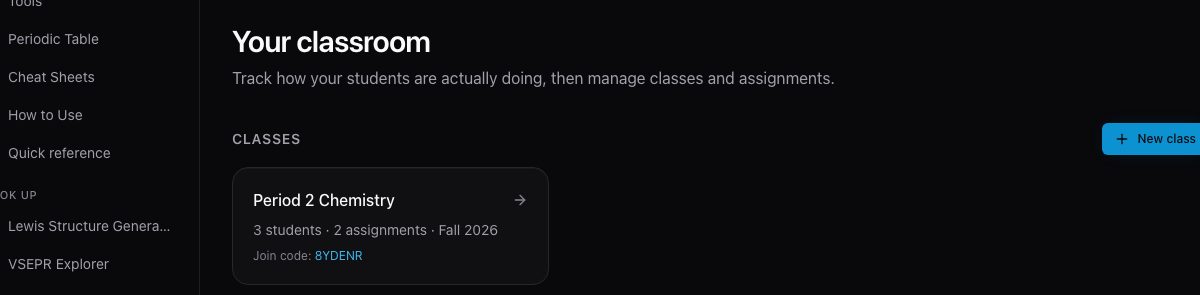
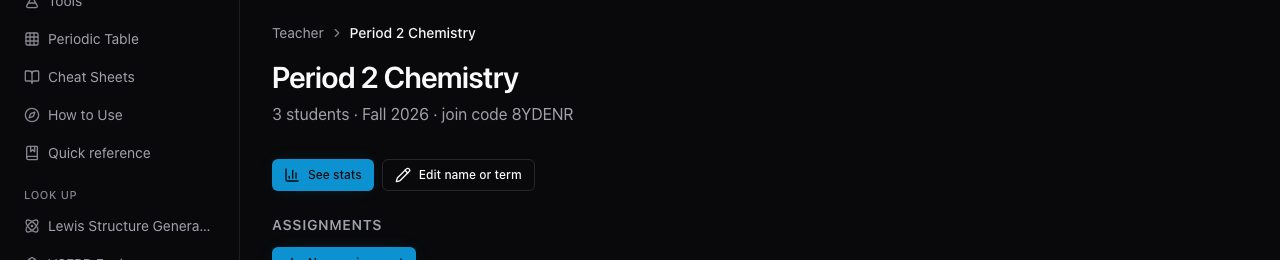
It sits under the class name. A student enters it once on their dashboard and appears in your roster at once.
If it is differentIf a student cannot join, check the code letter by letter. Archiving a class stops its code admitting anyone new.
The class page: the join code sits under the name.View full size
4
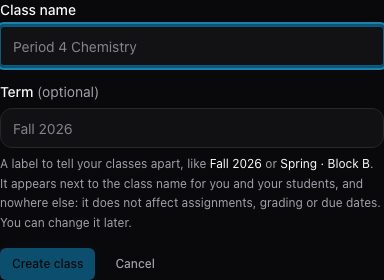
Correct the name or term any time with Edit name or term.
It changes only those two labels. The join code, the roster and every assignment stay as they are.
Task 2
Build an assignment
A draft or published assignment with the problems, dates and grading you chose.
Before you start: A class (see Set up a class).
1
Open the class and press New assignment.
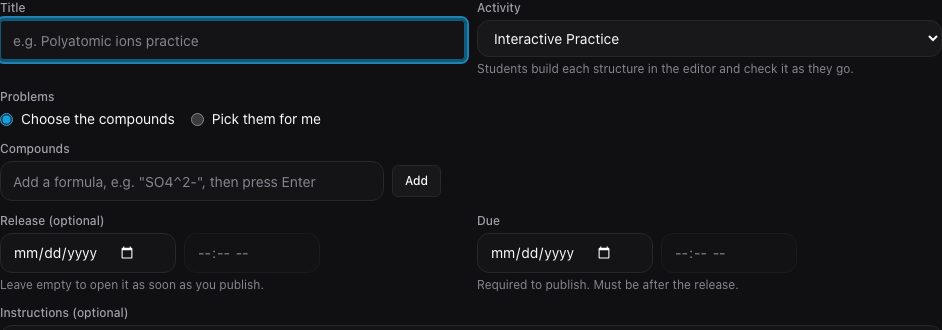
The form opens on the class page. A title, at least one problem and a due date are enough to publish; everything else starts from sensible settings.
The top of the builder: title, activity, problems and compounds.View full size
2
Choose the activity.
Interactive Practice, Quick Practice, Solve Mode, Ion Identification or VSEPR Analysis. The line under the menu says what students will do. Any problem can override the activity, so one assignment can mix them.
If it is differentA compound an activity cannot mark is refused with the reason and a way forward. NO2 has an unpaired electron, so no activity can mark it, and a single ion like Na+ can be named in Ion Identification but not drawn.
3
Add the compounds yourself, or choose Pick them for me.
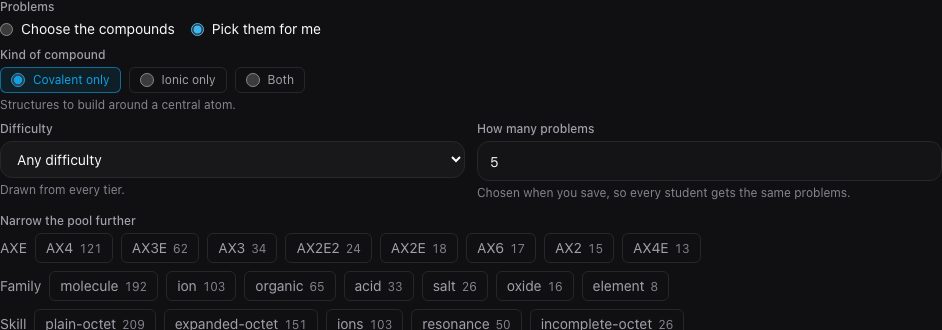
Type formulas and press Add, or let LewisLab draw a set at the difficulty and shape you choose. A drawn set never repeats a compound, and a preview shows what it would give.
Pick them for me: how many, how hard, which shapes.View full size
4
Put the problems in the order you want with Move earlier and Move later.
Press Move later on a problem and it moves down one place; keep pressing to carry on. From the keyboard, focus follows the problem to its new row, so you do not have to find it again.
5
Set when it opens and when it is due.
Leave Release empty to open it the moment you publish. A due date and time are required to publish and must fall after the release.
6
Write what students should watch for in Instructions.
They appear on the assignment page and again above the work, so students read them while they answer.
7
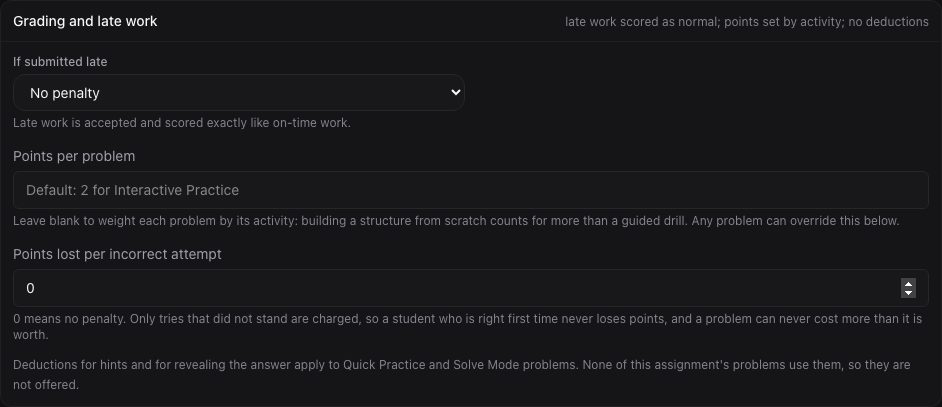
Open Grading and late work to change how it is marked.
Closed, it summarises what is set. Open, it has the late-work policy, the points and the points lost for wrong tries. Hint and reveal deductions appear only when a problem runs Quick Practice or Solve Mode, because no other activity uses them.
Save a setup you like as the class's defaults, or as your own.
The next assignment starts from the class's defaults if it has any, then yours, then the standard settings. Defaults never change an assignment that already exists.
Task 3
Preview, then publish
An assignment your class can open, that you have tried yourself first.
Before you start: A saved assignment (see Build an assignment).
1
Press Save draft if you want to look it over before anyone else can.
A draft is invisible to students. It is listed on the class page, and Edit there lets you publish it later.
2
Open the assignment and press Preview as student.
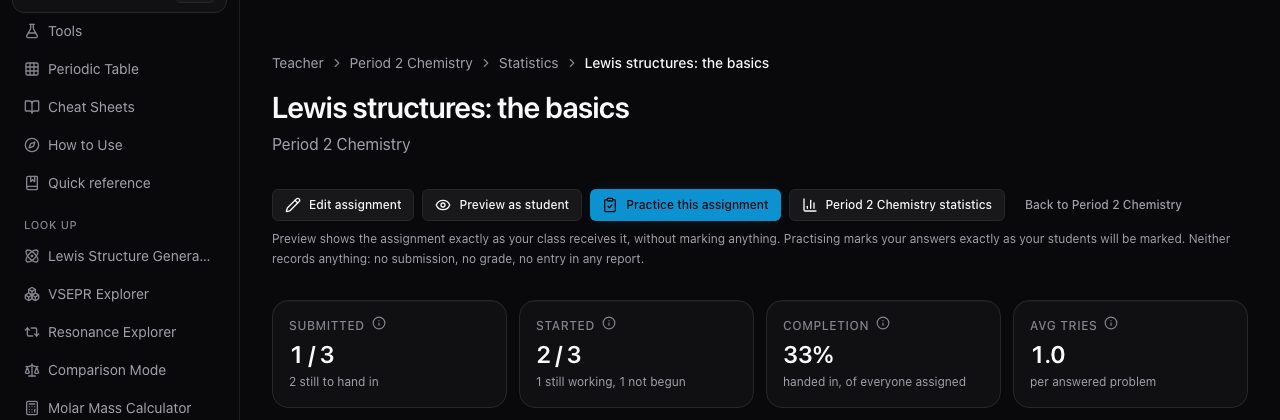
Preview opens the same runner your class gets. Practice this assignment does the same but marks your answers exactly as your students will be marked. Neither records a submission, a grade or anything in any report.
The assignment page: Edit assignment, Preview as student and Practice this assignment.View full size
3
Press Publish now when it is ready.
It opens for students at once, or at the release time if you set one (Schedule). Save draft instead keeps it hidden. The form says what is still missing before it will publish.
4
Read the student guide to see what your class will meet.
It walks through the dashboard, the assignment page, the work and the hand-in, in the words students will read.
You can change the name, the instructions, the status (Draft, Scheduled, Published or Closed), the release and due dates, and the late-work policy. Moving the due date changes what counts as late from now on. Changing the late policy never re-marks work already handed in.
2
Use the problem list to reorder, replace or retire a problem.
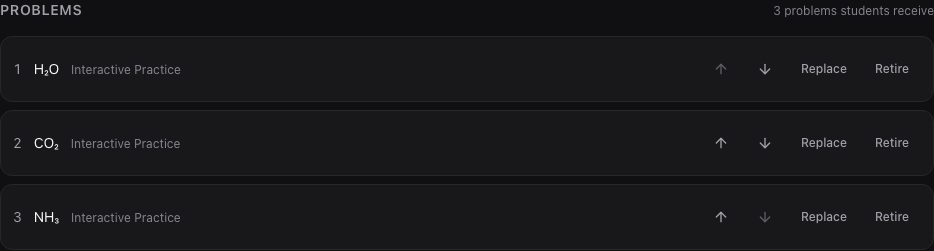
Move earlier and Move later reorder, Replace puts another compound in the same place, and Retire stops a problem being set. Nothing is deleted: a retired problem is listed under No longer set, and the marks students already earned on it still count.
You should seeThe list refreshes from the server. With the keyboard, focus follows the problem you moved, so you can keep pressing Move later.
Good to knowOnce a student has recorded work, the set of problems cannot be rewritten, because that would change what their marks mean. Replace and Retire stay available.
The problem list, with a reorder, Replace and Retire for each problem.View full size
3
To take an assignment away, press Edit on its card on the class page, then Delete.
If no student has worked on it, it is deleted. If any has, the same button archives it instead: it leaves everyone's list, every answer and score is kept, and you can restore it from the class's archived assignments.
Task 5
Read the results
You know how the class is doing, who needs a look, and every score is marked.
1
Start on Teacher Mode and read how problems ended.
Attempts are split into right first time, right after retrying, answer revealed, finished wrong and skipped, with the number each is counted out of. Use the Class and Assignment filters and the 7d, 30d, 90d and All time buttons to narrow it.
Good to knowThe charts below name their axes and print their scale, so a quiet week and a busy one do not look alike.
If it is differentWith All assignments selected the class figures include students' own practice. Pick a single assignment to see only the work set for it.
How problems ended across the class, and what each share is counted out of.View full size
2
Open an assignment to see how it went.
The tiles count who has started and who has handed in, with scores and lateness. Below them the problems are listed hardest first, then the skills weakest first.
3
Read the roster at the foot of the page.
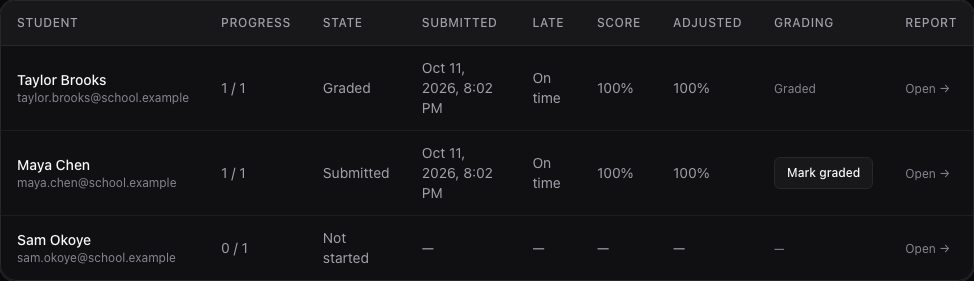
Each student has their progress, their state, when they handed in, whether it was late, the score before and after penalties, their grading state and a link to their report.
The roster: one row per student, with a Mark graded button where one has handed in.View full size
4
Press Mark graded beside a student who has handed in.
It accepts the score the checker computed. Until you do, the student sees Submitted, awaiting your teacher; afterwards they see Graded and their score.
5
Press Open on a student's row for their report.
It lists every problem as correct, incorrect or not answered, with attempts, hints, reveals and time.
6
Press Export CSV on Teacher Mode to take the roster with you.
It downloads the roster you are looking at, with the same filters applied, so a figure you quote from the file is the figure the page showed you.
Task 6
Finish a class
The class is out of the way, with everything kept, or gone for good.
1
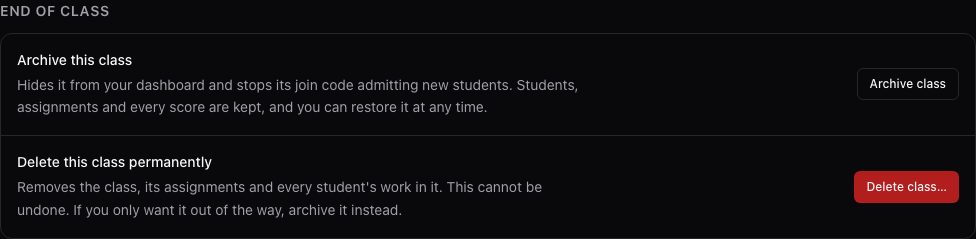
Press Archive class at the foot of the class page.
It hides the class from your dashboard and stops its join code admitting new students. Students, assignments and every score are kept. Archived classes are listed, and Restore brings one back.
End of class: archive, or delete permanently.View full size
2
Delete a class only when it should be gone: press Delete class.
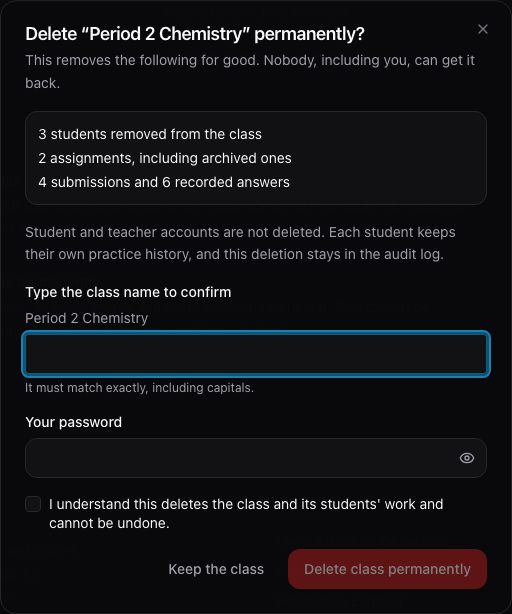
Deleting removes the class, its assignments and every student's work in it, and cannot be undone. You type the class name and your password, tick the box and confirm. Only the class's own teacher can do it.
The delete confirmation: the name, your password and a tick box.View full size
3
Read what the dialog says will go before you confirm.
It counts the students, assignments, submissions and answers from the database. Accounts, each student's own practice history and the audit log stay.
Task 7
What LewisLab does not do
You know what is not there before you look for it.
1
Do not look for limits on attempts, time or retakes.
There is no attempt cap, no time limit, no way to switch Solve Mode's reveal off, and no retake or reopening of a submitted assignment. Each would change how work is graded, so each is a decision for the product, not a hidden setting.